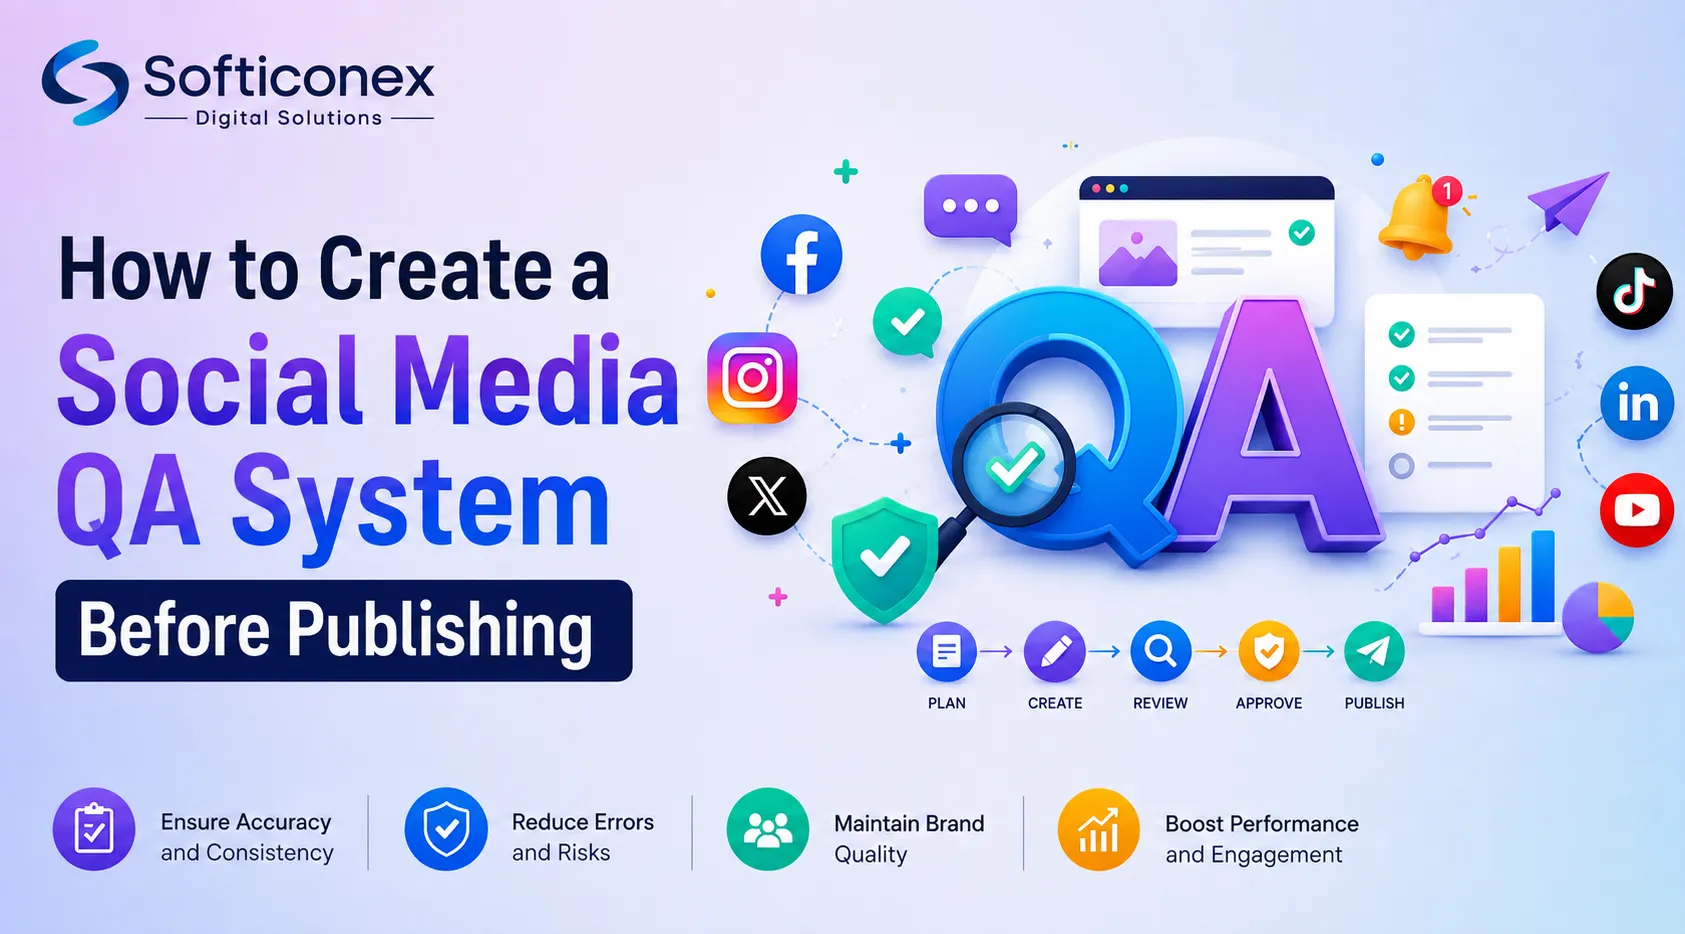
Social media publications move like the blink of an eye. Hence, branding and marketing teams also manage multiple deadlines simultaneously, receive approvals and iterative creative changes, address platform updates, support multiple campaign launches, and incorporate feedback from various stakeholders. Fast-paced work environments make it easy for employees to miss errors during their communication with clients or customers.
Small Errors Can Have Big Business Consequences
Mistakes that happen because you fail to do a great job communicating with your audience include:
- Broken links on paid ads that waste money spent on ads
- Misspelled words on ads that could decrease the credibility of your ads
- Incorrect UTM parameters that will cause errors in attribution data
- Poorly cropped images that can cause reduced user engagement and give the appearance of a less-than-professional brand identity
Unfortunately, research from Gartner shows that most marketing organizations do not believe these types of failures occur often enough. Gartner estimates that poor data quality costs organizations an estimated $12.9 million per year, primarily through poor reporting and operational inefficiencies.
Also, there’s a growing trend among consumers not to forgive companies for providing low-quality products or customer support. According to research by PwC, 32% of customers would stop doing business with a brand they love completely after one bad experience with it.
Social Media QA Goes Beyond Proofreading
This all makes it clear that ensuring your social media presence looks good is critical to your business success. In this sense, social media QA goes beyond just proofreading an individual piece of content—it involves having a full review and process in place before publishing anything to create a consistent voice throughout your entire social media presence:
- Links
- Tracking parameters
- Copy
- Visual assets
- Accessibility
- Platform formatting
- Tags and mentions
- Approvals
- Compliance requirements
Instead of relying on memory or rushed last-minute reviews, teams create a repeatable process that improves publishing accuracy across campaigns and platforms. The result is a workflow that helps move faster without compromising quality.

What Is a Social Media QA System?
By definition, a social media QA system is a documented review process used to check and approve content before publishing.
The objective is very straightforward—reduce the number of mistakes that could be avoided and increase the level of consistency, accountability, and collaboration among the many teams doing the work.
When implemented correctly, a QA system enables teams to
- Lessen the errors made during content publication.
- Create a greater level of brand consistency.
- Campaign trackability must be secured.
- The user experience must be improved.
- Potential compliance violations must be eliminated.
- Streamline the collaboration among all stakeholders.
Normally, smaller teams may use the following:
- Shared spreadsheets
- Google Docs checklists
- Slack approval workflows
On the other hand, larger organizations may manage QA through platforms such as the following:
- Asana
- Monday.com
- Airtable
- Hootsuite
- Sprout Social
Remember: the system does not need to be overly complicated; it needs to be consistent.
1. Start With a Pre-Publishing QA Checklist
The use of an established checklist is an essential component for all successful QA processes.
If there is no standard checklist, reviews can be inconsistent and reliant on a person’s unique practices. One team member may remember to test links, while another focuses only on copy. Over time, these people will leave gaps in their work because they don’t have a standardized process to follow. Therefore, by using a standardized list, you are creating alignment across your entire publishing process.
Your checklist should include:
- Links.
- UTMs & Tracking.
- Copy & Messaging.
- Creative Assets.
- Image & Video Dimensions.
- Tags & Mentions.
- Accessibility.
- Platform Requirements.
- Approvals.
This checklist forms the structure upon which all your publishing frameworks will be based. It also helps teams that are doing high volumes of publishing to decrease the amount of information that they need to remember.
2. Check Every Link Before Publishing
Inaccurate and broken links are very harmful to social media marketing because they directly impact traffic levels, conversions, and overall performance of a campaign.
That’s why teams need to check each link before posting and ask the following:
- Does the link work when clicked on?
- Does the link take you where you expect to go?
- Is the page live?
- Is the page optimized for mobile devices?
- Are the redirects working correctly?
- Does the link match what the post expresses?
For instance, if a post is meant to enroll an individual in a webinar, the call to action must not redirect to a website home page or an outdated URL. Every broken link in a paid marketing campaign equates to lost dollars spent on advertising. So, before creating shortened URLs with UTM codes, teams should confirm all UTM codes are functional and formatted correctly after all codes have been created.
3. Validate UTMs and Campaign Tracking
At a glance, the campaign may seem perfect. Yet, if your UTMs are incorrect, you may not be able to identify the content that led to your results.
UTM errors cause inconsistencies in attribution reporting, which leads to false information regarding what/how content has driven performance. The QA process needs to ensure that:
The quality assurance process should confirm that:
- “utm_source” is correct.
- “utm_medium” is correct.
- “utm_campaign” is correct.
- “utm_content” is optional for creative or copy variants.
- Consistent name conventions are utilized.
- There are no spaces, typos, or inconsistencies with capitalization.
- Shortened URLs are tested on the UTM parameters after they are created.
A centralized UTM naming convention guide is developed to help regulate teams, providing a format for consistent UTM application across all campaign efforts.
For instance:
| Parameter | Example |
| utm_source | |
| utm_medium | social |
| utm_campaign | spring_product_launch |
| utm_content | carousel_version_a |
Having a consistent way of naming UTM and related attributes will create improved accuracy of reporting and will help to prevent fragmentation of analytics data later.
4. Review Copy for Accuracy, Clarity, and Brand Voice
Editing a copy is much more than just checking the grammar. Teams need to assess that the copy communicates a clear, accurate message that reflects the brand’s voice.
The key aspects of checking for quality assurance include:
- Typos and Grammar
- Product Names
- Pricing or Dates
- CTA Placement
- Length For Platform
- Brand Voice
- Hashtags
- Compliance-related wording
- Non-misleading claims
Context matters when completing this step. Always think that a caption may appear clean and neat on a spreadsheet visual, but when previewed on platforms like LinkedIn, Instagram, TikTok, and X, it may appear overly long or awkward. Thus, it’s important to review the copy in the publishing preview as much as you can.
5. QA Creative Assets Before Uploading
The stage of visual quality assurance is essential to the creative process because of the increased visibility and challenges of correcting creative errors after publication.
Key points for your team to verify:
- Correct asset selection
- The final approved version is used.
- No placeholder text is left in assets.
- No accidental watermarks present
- Brand colors and fonts are used correctly.
- Using a background remover to clean image assets.
- Use logos according to usage guidelines.
- Ensure that any text included within the graphics is spelled correctly.
- Ensure the call to action is the same as the text within the caption.
- Add any legal disclaimers that are applicable.
- Include any video captions or video subtitles directly on the video.
- Correct thumbnail selection
Additionally, the organization and effective management of assets will allow for a more efficient workflow in design operations.
Using clear naming conventions such as:
CampaignName_Platform_PostType_Date_Version
helps teams avoid uploading outdated versions accidentally.
Example:
SpringLaunch_LinkedIn_Carousel_2026-05-11_V3
6. Confirm Platform Dimensions and Formatting
There are many social media sites, and each approaches creative assets differently from one another.
For instance, an image could look stunning on Instagram but appear to be cropped incorrectly on LinkedIn. A thumbnail can also be optimized for YouTube Shorts, but it will not work on TikTok.
That’s why formatting QA is so important.
Here are some things to review before publishing:
- Image dimensions
- Aspect ratios
- Video length
- File sizes
- File types
- Safe zones for text placement
- Order of carousel slides
- Visibility of thumbnails
- Mobile preview
All of these become significantly more critical when you are trying to use the same campaign across multiple channels.
Higgsfield is a good option to check out here. The AI Image Generator can regenerate that same shot at the right crop for each platform instead of manually resizing it channel by channel. You may have to do the following to create a similar creative concept:
- Feed versions
- Story versions
- Vertical video crops
- Mobile-safe layouts
- Different CTA locations
Without doing a proper QA job, there is room for inconsistency.
7. Check Tags, Mentions, Hashtags, and Product Labels
Incorrect tags and, likewise, incorrect mentions can cause confusion, disorder, and pure damage to partnership relationships and campaign credibility.
Make sure to check with your teams before emailing the content out to ensure the following:
- Correctly tagged partners or brands
- The employee/executive handles are checked and verified
- Are you using the sponsored partnership label?
- Are the hashtags spelled correctly?
- Are there any accidental tags to unrelated accounts?
- Are the product tags appropriately linked?
- Are the location tags accurate?
Tagging the wrong partner at launch may cause other brands to view you as unorganized and unprofessional. Even the smallest errors can impact visibility and the management of relationships within your company.
8. Build Accessibility Into the QA Process
Accessibility mustn’t be treated as an optional last step to confirm that a product meets usability standards. The publishing workflow should include accessibility features from the beginning.
Social media content that is accessible to everyone makes it easier for people of different backgrounds to use, and it helps broaden the overall reach of a brand.
The following are the items included in accessibility QA checks of social media content:
- Alt tags
- Video captions
- Use of a graphic font
- Contrast ratio of text to background colors used
- Intentional integration of emojis
- Usage of CamelCase in hashtags (example: #SocialMediaMarketing)
- Application of sound features
- Use of communication methods other than just using images
By increasing the level of accessibility for your social media assets, the overall user experience will also increase, particularly for users accessing content on mobile devices.
9. Create an Approval Workflow
Even if a checklist is done correctly with ownership in place, it won’t work. Any document needs an approval process before it can go live.
Types of approvers may include:
- Content Owner
- Designer/Creative Lead
- Social Media Manager
- Brand Reviewers
- Legal Reviewers
- Paid Media Manager
- Client Stakeholder
For instance:
| Content Type | Recommended Reviewers |
| Organic meme post | Social manager |
| Product launch | Brand + legal + marketing |
| Paid campaign | Paid media + compliance |
| Executive announcement | Leadership + PR |
The key is defining approval expectations before production begins.
10. Assign QA Ownership and Deadlines
One of the major issues with a workflow is when people think someone else has reviewed the post already. Often, the assumption that “everyone has reviewed it” results in no one truly taking ownership of the final QA step.
To fix this:
- Designate one final QA owner
- Set timeframes for approvals
- Have a label assigned to identify where a post is throughout the workflow.
- Maintain a record of all sign-offs completed.
- Re-approve any major revisions completed after original approval.
Commonly used workflow status labels are as follows: draft, in review, approved, scheduled, and published. Implementing these measures creates accountability and reduces confusion when carrying out rapid-fire campaigns.
11. Use a QA Template for Every Post
By using a template for quality assurance, you can scale your efforts. Rather than creating a new workflow each time, teams can replicate an existing workflow for their specific campaigns or postings.
Some examples of what you may see in a QA template:
| QA Area | Question | Owner | Status |
| Link | Is the link functioning as expected? | Social manager | Complete |
| UTM | Are there tracking parameters? | Demand gen | Complete |
| Copy | Is messaging approved? | Content lead | Complete |
| Asset | Is the final creative attached? | Designer | Complete |
| Accessibility | Are captions and alt text present? | Social manager | Complete |
| Approval | Has the final sign-off been completed? | Stakeholder | Complete |
A QA process can exist in several locations:
- Spreadsheet
- Project Management Tools
- Social Media Calendars
- Publishing Platforms
Templates can provide a system to help reduce tedious, repetitive work and increase consistency in your processes.
12. Add a Final Preview Step
Whenever permissible, the last step of reviewing an asset should occur within the scheduling or publishing platform itself.
At this stage, you can catch problems that would not appear before this point in your planning documents.
Review:
- Link preview image
- Meta title
- Mention functionality
- Hashtag formatting
- Line breaks
- Asset cropping
- Mobile previews
- Date & Time Scheduled
- Publishing Account Used
A large percentage of errors that are made when publishing an asset can be traced to mistakes made at the final upload rather than earlier drafts. Always keep in mind that a preview check is a final safety net for an asset prior to publication.
Document Mistakes and Improve the System
QA systems need constant development. Each publishing mistake or near-miss provides an opportunity to enhance the process. Teams should do five main things to improve:
- Track recurring errors
- Add checklist items when errors occur.
- Analyze failed campaigns
- Hold quick postmortems.
- Regularly update templates and train new team members.
For example, if a campaign has multiple instances of having incorrect video thumbnails, they would add ‘thumbnail approval’ to their checklist permanently. QA is most useful when treated as a living operational system instead of a static document.
Example Social Media QA Workflow
Teams can implement this practical publishing workflow:
- The content creator creates the post draft.
- The designer uploads all final creative assets.
- The social media manager adds UTMs, links, hashtags, and accessibility information to the post.
- The brand editor/reviewer reviews the copy and messaging.
- If necessary, the legal reviewer will review the post.
- The final QA owner will complete the checklist.
- The post will be previewed in the scheduling platform.
- The stakeholders will approve the post.
- Once approved, the post will be published at a later date.
- After the post goes live, the social media team will verify it.
This process allows the development of a structured publishing workflow without overly increasing the amount of time it takes for teams to publish content.
Conclusion: Make QA a Habit, Not a Last-Minute Task
A faulty link, a combination of incorrect words, or an error in tracking code can easily ruin a whole social media campaign before anyone knows it happens. Publishing quickly today is not nearly enough, especially when considering today’s constantly changing brand content landscape. Hence, brands must create ways to ensure their content is produced accurately and consistently so consumers trust what they are interacting with.
A comprehensive social media quality assurance process can help teams find issues before they publish posts by reviewing all links, UTM codes, copywriting, and all other creative assets for accessibility, approval, and formatting based on the publishing platform through a systematic workflow to keep each social media campaign aligned automatically across all platforms.
Successful use of QA is much more than simply completing a review for approval. It provides brands with greater ability to move quickly while still maintaining the level of quality that they want for each post, allowing them to protect their social presence with the level of accuracy, professionalism, and credibility that their audiences are looking for.